Thursday, June 24, 2021

Salad On A Stick... Say What?!

The summer has finally arrived and you are once again willing to brave social contact via potluck or picnic. What do you bring? Salad-On-A-Stick! Say WHAT?  If you are like me and still a little leery about potlucks and well COVID, this is a great option to keep hands free from touching utensils. This also lends itself well to camping with a little planning. No one wants to do a bunch of dishes when camping. This takes salad to a finger friendly virtually dish less lunch option.  These are really fun for kids and adult alike. Make a bunch of them, then set them out on a large serving tray with a big bowl of ice underneath. You’ll receive lots of compliments.

You can use regular chicken eggs to make these, but quail eggs are definitely very cute!

Have you ever tried quail eggs? I have and I love them. Turns out they are very nutrient-rich for such small morsels! If you live near a local farm you may find them. Otherwise you can ask your grocer to carry them.


This recipe makes 6 Servings

Ingredients

  • 2 large chicken breasts (around 14oz in total)
  • 1 Tbsp olive oil
  • sea salt and ground pepper, to taste
  • 2 small garden cucumbers, sliced into 1/2-inch slices
  • 6-8 ounces cheddar cheese, cut into small cubes
  • 1-pint cherry or grape tomatoes
  • 1/2 head of iceberg lettuce, rinsed and roughly chopped
  • 12 boiled quail eggs, halved if desired
  • 8-inch bamboo sticks

Instructions:

  1. Rub the chicken with sea salt, pepper, and a bit of olive oil. Seat aside on the counter to allow it to reach room temp for about 20 minutes.
  2. Preheat an outside grill or a grill pan over medium-high heat.
  3. Once the chicken is no longer fridge-cold, place it on your preheated grill or grill pan. Grill for about 6 minutes per side, or until grill marks appear and it's cooked through. Set aside on a cutting board and allow it to cool for 5 minutes, then cut into 1/2-inch cubes.
  4. Meanwhile, prepare the remaining ingredients.
  5. To assemble your skewers, you'll need 8-inch bamboo sticks.
  6. Take one skewer and gently thread a slice of cucumber, followed by a cube of cheese, a cherry tomato, some lettuce, a cube of grilled chicken, and then an egg. Repeat with the remaining ingredients as shown.
  7. Arrange your Cobb skewers nicely onto a platter and very lightly drizzle with extra virgin olive oil. Sprinkle with sea salt and freshly ground black pepper if desired.
  8. Serve immediately.

If you are planning this for camping, it is helpful to pre-cook the eggs and pre-cut/cook the chicken. Cutting the veggies right before you serve so they are as fresh as possible. You can also add other veggies too. 

Ideas for other additions:
  • Smoked Sausage (cut up and pre-cooked)
  • Onions (cut into 1.5 - 2 inch square pieces
  • Olives
  • Pepperonis
  • Ham
  • Radish
  • Crotons


Wednesday, June 23, 2021

Canning Bean Soup - Dry Bean Method

I was going through my freezer and making a meal plan for the week and noticed I had two beautiful ham bones in freezer bags. They both had a good amount of meat on them from Sunday Hams. I am not one to waste food if I can avoid it. I thought PERFECT! I will make bean soup with these! I usually save those for either bean soup, potato soup or split pea soup.  

Making homemade bean soup is one of those comfort foods that goes great with corn bread or a hearty baked bread, especially on cold days. What is better still, having it ready to eat on a cold day OR being able to just throw it into a crock pot and let the family munch on it all day.


Ingredients:
  • 2 medium carrots, sliced
  • 2 celery ribs, chopped
  • 1 med/large onion chopped
  • 4 Cups chicken stock
  • 2 lb of dry beans (northern, navy, pinto - your preference) washed and rinsed 
  • 1 large meaty leftover ham bones
  • 1 Tbsp thyme
  • 2 garlic cloves minced
  • 1/4 tsp pepper
  • 1 bay leaf
  • Large stock pot
  • Water
  • 7-8 or so Quart canning jars with lids and rims (clean/sterile)
  • Pressure canner & canning tools


Place the ham bone with meat attached into the stock pot and fill the stock pot with stock, thyme, garlic, pepper, bay leaf and top off with water to about 2/3 full and set it over medium heat to boil. You are going to let this boil down until you have reduced the water to about 1/3 left. (This is going to take a while and your kitchen will be warm and muggy which is why I tend to do this during the cooler months.)

Chop up your veggies while this is cooking down and set aside.

Line up your clean canning jars 

Measure 1 Cup dry beans per Quart (or 1/2 cup per pint)


Once you have reduced your liquid to about 1/3 full, remove the meat and bones. With a sharp knife cut/cube the ham that you want to go back into the soup and set aside. I usually chop up about 2 cups or so, sometimes more. 


Stock has reduced down and the steam
smells amazing!


Then distribute your veggies evenly between the jars and add your meat. I like the look of the layers in my jars but theoretically you could just mix the meat and veggies and then divide the mix evenly between your jars. Whatever blows your hair back I say.


NOTE: There are times where I will have too much meat and I will throw that into 1 or 2 pint jars and pop those into the pressure canner at the same time as the soup because the processing time is the same as the soup. 

This can be very handy when cooking and a spot of ham would really enhance the recipe so I will just grab a jar of canned ham from my pantry and it does the trick. This makes great baked ham mac-n-cheese and ham-n-scalloped potatoes. 
See my post on Why I Can Meat for more info on this.

Remove the bay leaf from the broth. Ladle hot mixture into jars leaving 1 inch head-space. Wipe rim and add lids and bands. Tighten to finger tip tightness. 


Process jars 75 minutes for pints & 90 minutes for quarts. 
(You will need to adjust the pressure for your altitude. For my altitude I use 10 lbs of pressure)

Once done, let jars sit for 24 hrs. Lids should all be sealed. If not, I place mine in the refrigerator and consume within 2 wks. 

My soup tends to be thick and that is how I like it. When I am ready to serve it I can add 1/2 - 1 cups of water to thin it out to the consistency desired. This is delicious with a hearty baked bread. This has saved me more than once on busy nights.


If you try this please share in the comments below or show me pictures of your canning success!


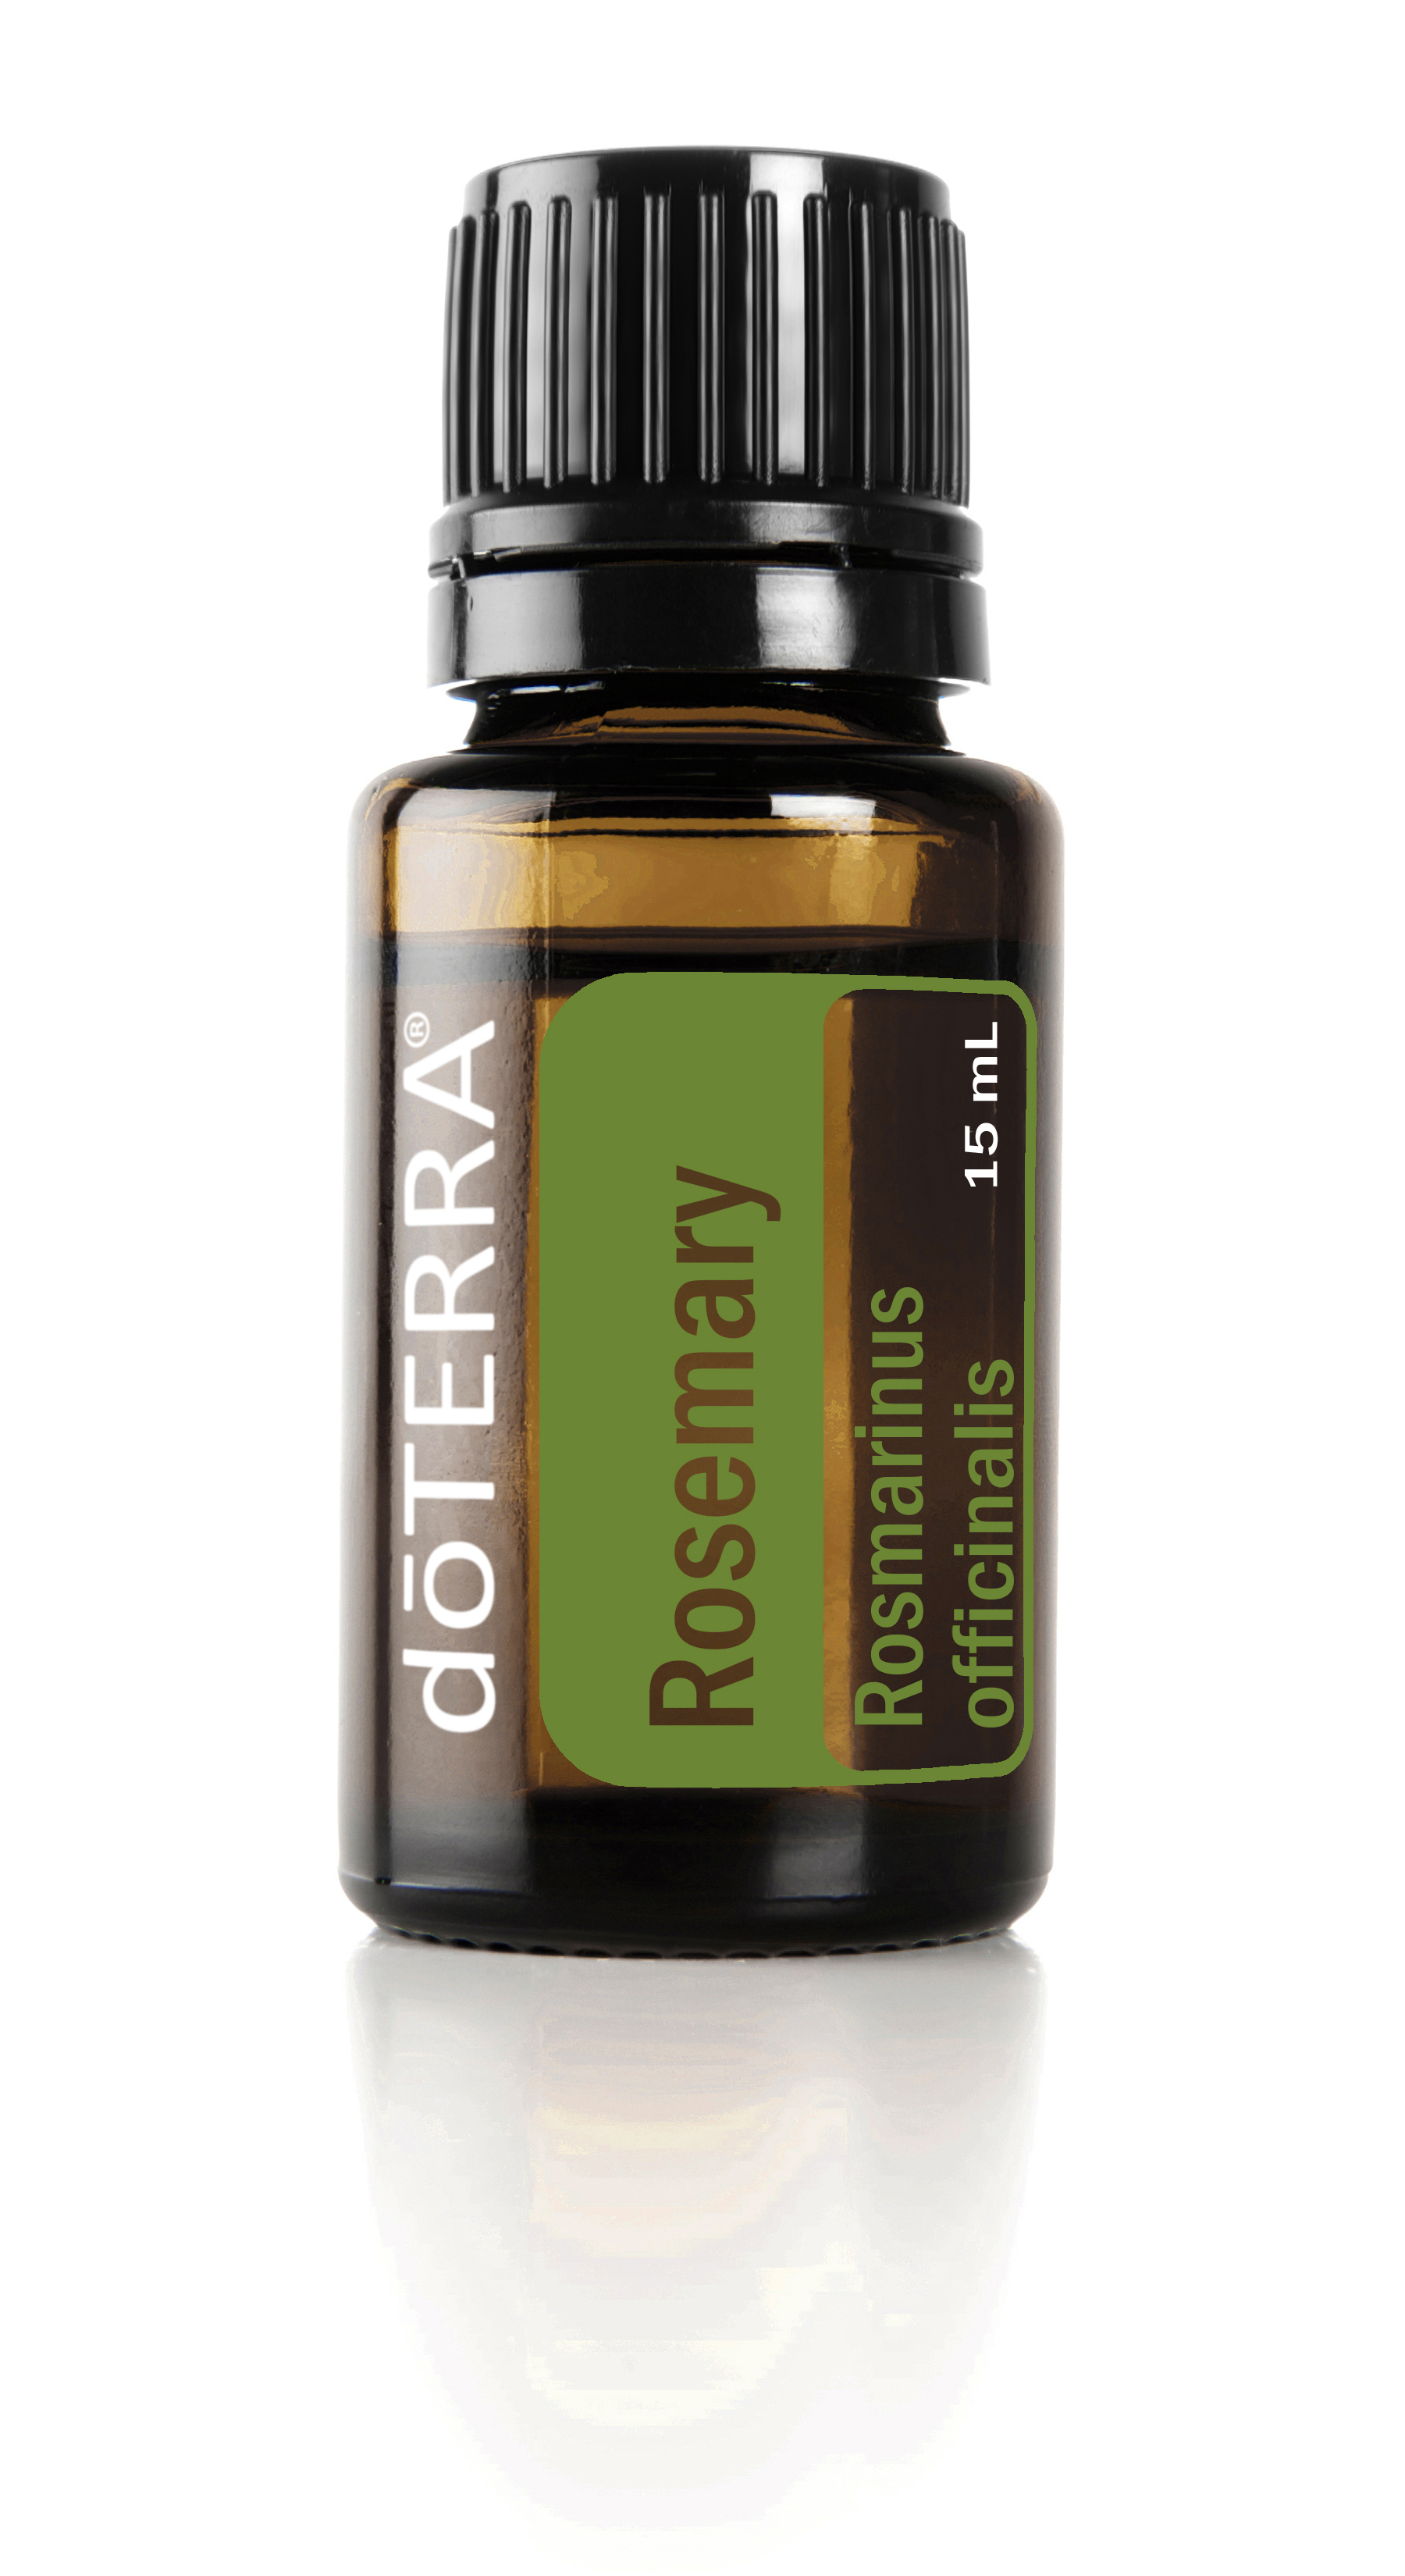
Rosemary Essential Oil

Rosemary Essential Oil  Rosmarinus officinalis

While it is frequently used for cooking, Rosemary has long been revered by many cultures for its internal benefits and energizing scent. 


Description

Rosemary is an aromatic, evergreen shrub whose leaves are frequently used to flavor foods such as stuffing's, pork, roast lamb, chicken, and turkey. Along with its culinary applications, Rosemary oil has many benefits. Rosemary essential oil supports healthy digestion and internal organ function when ingested.* Long revered by experts, Rosemary was considered sacred by the ancient Greek, Roman, Egyptian, and Hebrew cultures. Rosemary oil's herbaceous and energizing scent is frequently used in aromatherapy. Taken internally it helps to reduce nervous tension and occasional fatigue.*

Uses

  • Diffuse Rosemary oil to create an atmosphere conducive for studying.
  • Helps to support endocrine system. Direct body through hormone secretion, hypothalamus, thalamus, pineal, pituitary, parathyroid, thyroid, pancreas, and adrenals.*
  • Helps to support the reproductive system (Ovaries, uterus, breast, testes, prostate).*
  • Take internally to help reduce nervous tension and occasional fatigue.*
  • Add 1–2 drops of Rosemary essential oil to meats and favorite entrées for flavoring and to support healthy digestion.*

Directions for Use

Diffusion: Use three to four drops in the diffuser of your choice.
Internal use: Dilute one drop in 4 fl. oz. of liquid.
Topical use: Apply one to two drops to desired area. Dilute with a carrier oil to minimize any skin sensitivity. See additional cautions below.  I will add a couple of drops to my shampoo bottle as well as rosemary is good for the scalp.

This oil is Kosher certified.

Primary Benefits

  • Supports healthy digestion when consumed*
  • Internal use may help support healthy respiratory function*
  • When taken internally, may help to reduce nervous tension and occasional fatigue*

Aromatic Description

Camphoraceous, Herbaceous

Collection Method

Steam Distilation

Plant Part

Flower, Leaf

Main Constituents

1, 8-Cineole, α-pinene, camphor


If this is an oil that sounds like something you would like to try, feel free to message me or you can click HERE to purchase Rosemary Essential Oil.


If you would like to learn more about essential oils, please fill out either of these surveys and I will response accordingly.


Cautions
Possible skin sensitivity. Keep out of reach of children. If you are pregnant, nursing, or under a doctor’s care, consult your physician. Avoid contact with eyes, inner ears, and sensitive areas.

Disclaimer:
I am not a doctor, so please always check with your doctor for health concerns or before starting anything new (like using an Essential Oil Internally). I have done my homework for myself. I know the medicinal value of doTERRA’s oils and that I can trust them. Please do not take anything you read here as medical advice. I am simply sharing my experiences and what I have learned.

These statements have not been evaluated by the Food and Drug Administration. This product is not intended to diagnose, treat, cure, or prevent any disease.


Tuesday, June 15, 2021

Scalpel Please... Surgery in the Garden - Squash Vine Borers

If you have had the pleasure (rather displeasure) of watching your zucchini, squash or pumpkin vines suddenly keel over or leaves wither away you may have encountered a squash vine borer.

Ugh!

How do you know if you have a squash vine borer?

You can usually find a hole at the base of the vine stem where they have chewed their entry point with wet sawdust looking stuff as evidence (this is called frass).

Well shoot… Now what?!

Once borers are inside your plants you have two options: ignore them and harvest what you can until your plant succumbs to it’s miserable fate (which it will not take long) OR you can intervene. If you have 2+ months left of growing season left it may worth trying to mitigate further damage. You could also plant another batch of squash (keep a good eye on them just in case).


Apply Bt (Beneficial Bacteria Spray).

This is my #1 preferred method of prevention and population genocide for these buggers and cabbage loppers.

Apply Bacillus thuringiensis (aka “Bt”) spray on the leaf stems and main stem of the plant (not the flowers because this can affect our pollinators and you want to protect those). Here is a great Bt product you can buy.

You can see the yellowing of the leaves
in this picture. This is a good indicator
that something is amiss. 
BT is a naturally occurring bacterium found in soils around the world. Research indicates that it is virtually harmless to non-target species (hence its approval for use in organic farming).

I aim to spray Bt on the stems and leaves of my plants once per week (or more if there’s a lot of rain), the squash vine borer’s eggs or larvae will be killed quickly, long before developing into large enough larvae to harm your squash plants. Many organic farmers use Bt spray, and it may be the most effective way to deal with borers and other squash pests.

To further minimize any potential harm to pollinators (just in case the current science is wrong), spray the plants as late in the evening as possible when daytime pollinators begin to go inactive, and avoid spraying the flowers.

You can even inject Bt into a squash plant’s stems if the larvae have already bored into the plant. In my opinion I would only do this if the plant isn’t already limp. I generally opt for the next intervention. You would just the same tool you use to inject a turkey.


Perform squash surgery. 

Let’s say you find an obvious entry hole on the stem of your squash plant with frass around it, but your squash plant still appears to be healthy.

What to do?

Break out the surgical tools and play doctor!

A box cutter or sharp knife and tweezers is really all you need.

First, make a straight incision down the stem of the plant (not across the stem which would sever it) starting where the hole is located. Cut as little as you have to until you spot the culprit, or culprits if there is more than one. 

You’re looking for white grubs with a black head. Remove them with tweezers and destroy them.

Then sprinkle some cinnamon over your incision (it will help with recovery) and cover the affected vine both at incision site and above the area with mulch/soil so that it can establish more roots. With some luck, your squash plant will continue to do well.


Side Note: Chickens love squash vine borer larvae and tomato hornworms. Can we say dessert? Plus it’s fun to watch them go bananas over them.


The following are more preventative options:


Mulch the squash plant’s stems & watch for eggs.

Keep the main stem of the plant covered with mulch as it grows along the ground. This helps prevent the adult Squash Vine borer moths from laying eggs on the stems. If the larvae bore into the main stem area of the plant, it won’t take long to kill the plant.

This method also helps vining and crawling squash varieties set new roots along their stems as they grow, so that the plants can continue to support new growth even if they have been infected by a squash vine borer further down the stem.

If you go this route, also be sure to keep a careful eye on the leaves of your squash plants, since borers also lay eggs on the leaf stems or undersides of the leaves. Squash vine borer eggs are small, round, shiny and copper-colored, very similar in appearance to “squash bug” eggs.

The difference is that squash bugs (aka demon spawn) lay multiple eggs in very tight clusters whereas borers will often only lay a single egg in one spot — or if laying multiple eggs, the eggs won’t be tightly clustered.

If you see either type of egg on your squash plant, remove them by hand immediately and destroy or drop them into a cup of soapy water. I find having an old cool whip container with a lid filled with soapy water in the garden to be helpful for just this sort of purpose. Duct tape works well for removal as well. The eggs stick right to it.

Also, if you see one leaf on your plant has gone limp and the others have not, this is a good indication that the limp leaf has a borer inside its stem, especially if you spot an entry hole. Cut the leaf and leaf stem off of the plant immediately, as close to the main stem of the plant as possible. Then make sure you bring swift and brutal punishment to the small white squash vine borer larvae munching inside.


Grow resistant squash varieties.

Most summer squash varieties are very susceptible to vine borers. However, there are other types of squash you can grow whose tough, thick stems are not nearly as susceptible to squash vine borers.


Use a row cover.

Want to be sure no squash vine borers get to your squash plants? I live in the Mitten State (aptly named give our winter season) so they don’t usually manage to over winter in my garden beds, but they may in your area.

Row cover is a lightweight fabric that lets sun, water, and air in, but keeps insects out, which means you’ll need to play the role of pollinator. Go outside with a q-tip or small paint brush in the morning to pollinate your squash plants by hand. Male flowers tend to be open early.

Using your q-tip, collect pollen from your male flowers. These are the ones that don’t appear to have baby fruit at the base of the flower. Then rub the pollen on the stigma of the female flowers. These are the ones that have baby versions of the fruit at the base of the flower. Then cover your plants back up.


Some gardeners have found success with wrapping the stems with foil to prevent the squash vine borer from being able to chew into the stem. I have yet to try this but I may as they are the BANE of my garden!


Keep those hands dirty and bee good!


Oregano Essential Oil

 Oregano Essential Oil  Origanum vulgare

Known as a popular cooking spice, Oregano oil also acts as a powerful cleansing agent, and offers powerful antioxidants*—extending its uses far beyond the kitchen.

Description

Oregano oil is one of the most potent and powerful essential oils and has been used for centuries in traditional practices. The primary chemical components of Oregano is carvacrol, a phenol that possesses antioxidant properties when ingested. Due to its high phenol content, caution should be taken when inhaling or diffusing Oregano essential oil; only one to two drops is needed.

Additionally, Oregano oil should be diluted with a carrier oil when applied to the skin. One drop taken internally each day can help maintain healthy immune function; Oregano oil can be taken more frequently as needed to further support the immune system.* In addition to being a popular cooking spice, Oregano oil also supports healthy digestion and respiratory function when taken internally.* Oregano oil's aroma acts as an enhancer and equalizer in essential oil blends.

Uses

  • Add one to two Oregano oil drops to a veggie capsule to support healthy respiratory function and gut health (you do not want to do this more than 10 days in a row -

    Repopulate your gut with healthy bacteria after the 10 days by taking PB Assist).*
  • Improve cellular function & oxygenation to the cells by mixing 2 drops with 2 TBS coconut oil and applying to the back.*
  • Use Oregano Touch to rub on the bottoms of your feet at night to help support immunity and prevent sickness*
  • Put one drop of Oregano essential oil in place of dried oregano in spaghetti sauce, pizza sauce, or on a roast.
  • Use Oregano Touch and use on warts, moles, and skin tags to help get rid of them.*
  • Put 10 Oregano oil drops in a 16-ounce spray bottle with water for a surface cleaner.

Directions for Use

Diffusion: Use one to two drops in the diffuser of your choice.
Internal use: Dilute one drop in 4 fl. oz. of liquid.
Topical use: Dilute 1 drop essential oil to 10 drops carrier oil. See additional precautions below.

This oil is Kosher certified.

Primary Benefits

  • Oregano essential oil used as a powerful cleansing and purifying agent
  • Supports a healthy immune system, healthy digestion, and respiratory function when used internally*
  • Offers powerful antioxidants when ingested*


If this is an oil that sounds like something you would like to try, feel free to message me or you can click HERE to purchase Oregano Essential Oil.


If you would like to learn more about essential oils, please fill out either of these surveys and I will response accordingly.


Cautions
Possible skin sensitivity. Keep out of reach of children. If you are pregnant, nursing, or under a doctor’s care, consult your physician. Avoid contact with eyes, inner ears, and sensitive areas.

Disclaimer:
I am not a doctor, so please always check with your doctor for health concerns or before starting anything new (like using an Essential Oil Internally). I have done my homework for myself. I know the medicinal value of doTERRA’s oils and that I can trust them. Please do not take anything you read here as medical advice. I am simply sharing my experiences and what I have learned.

These statements have not been evaluated by the Food and Drug Administration. This product is not intended to diagnose, treat, cure, or prevent any disease.


Monday, June 7, 2021

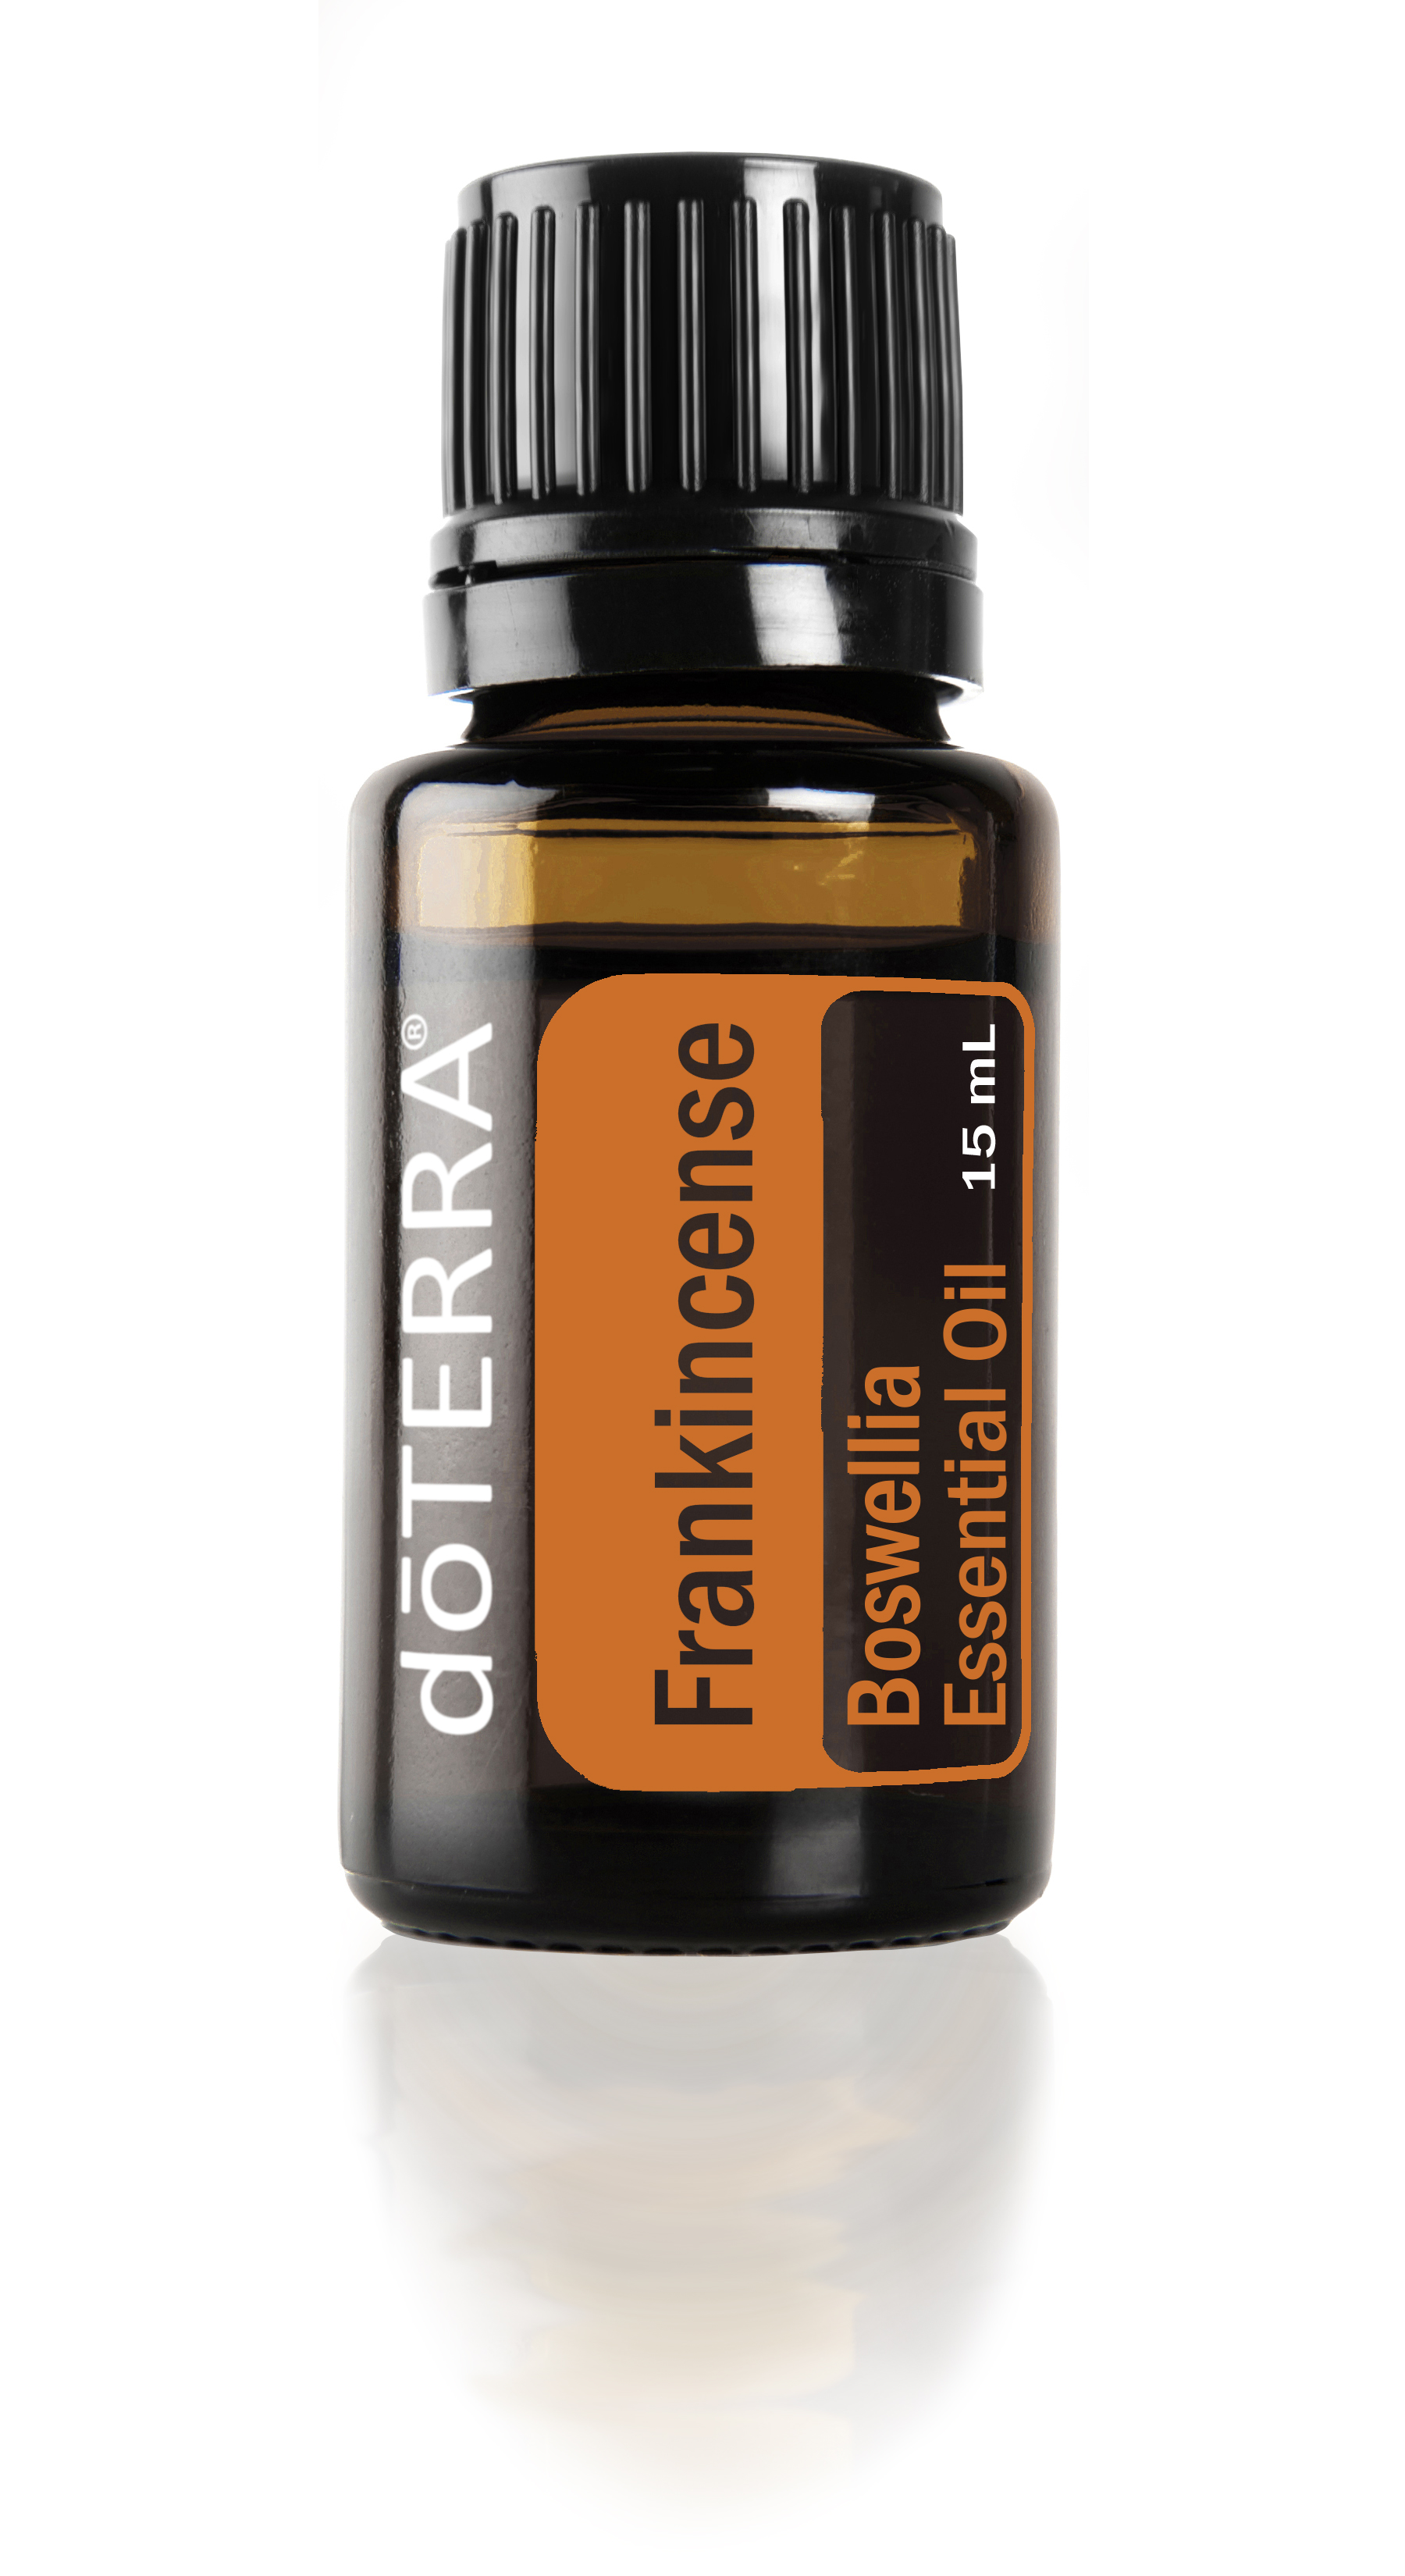
Frankincense Essential Oil


Renowned as one of the most prized and precious essential oils and sometimes called the King of Oils, Frankincense oil has extraordinary health benefits.* 

In addition to its notoriety in the New Testament, the Babylonians and Assyrians would burn Frankincense in religious ceremonies and the ancient Egyptians used Frankincense resin for everything from perfume to salves for soothing skin. This centuries-old knowledge contributes to the modern uses of Frankincense oil today. 

Its soothing and beautifying properties are used to rejuvenate skin and help reduce the appearance of imperfections when applied topically. As the king of oils, Frankincense is known to support healthy cellular, immune, nervous, and digestive function when used internally.* Combine Frankincense essential oil with essential oils like Bergamot or Lavender and inhale or diffuse to create an experience of peace and satisfaction.

Uses

  • Rub Frankincense on your hands after a long day of gardening. (This is a go to for me)
  • Apply topically to help reduce the appearance of skin imperfections.
  • Massage Frankincense oil on the bottoms of feet.
  • Take one to two drops in a veggie capsule to support healthy cellular function.


Directions for Use


Diffusion: 
Use three to four drops in the diffuser of your choice.
Internal use: Dilute one drop in four fluid ounces of liquid.
Topical use: Apply one to two drops to desired area. Dilute with a carrier oil to minimize any skin sensitivity. Frankincense Touch is a great option for this as it is already in a roller bottle and diluted in a carrier oil of Fractionated Coconut Oil.


This oil is Kosher certified.

Primary Benefits

  • Ingest to support healthy cellular function*
  • May provide a soothing aromatic experience
  • Helps reduce the appearance of skin imperfections when applied topically
  • Supports healthy immune and nervous system function when taken internally*

Aromatic Description

Warm, spicy, clean

Watch this clip to learn about doTERRA's co-impact sourcing.


If this is an oil that sounds like something you would like to try, feel free to message me or you can click HERE to purchase Frankincense Essential Oil.


If you would like to learn more about essential oils, please fill out either of these surveys and I will response accordingly.


Cautions
Possible skin sensitivity. Keep out of reach of children. If you are pregnant, nursing, or under a doctor’s care, consult your physician. Avoid contact with eyes, inner ears, and sensitive areas.

Disclaimer:
I am not a doctor, so please always check with your doctor for health concerns or before starting anything new (like using an Essential Oil Internally). I have done my homework for myself. I know the medicinal value of doTERRA’s oils and that I can trust them. Please do not take anything you read here as medical advice. I am simply sharing my experiences and what I have learned.

These statements have not been evaluated by the Food and Drug Administration. This product is not intended to diagnose, treat, cure, or prevent any disease.


Send Me A Message

Name

Email *

Message *