Wednesday, September 22, 2021

French Toast Casserole


As the weather gets colder, I start craving warm breakfasts that are full of flavor! This casserole is a great one and it makes your house smell so good. The cinnamon in this recipe really lends itself to a great coffee with this.


Ingredients:
6 cups cubed whole grain bread
8 egg whites
1 1/2 cups unsweetened almond milk
1/4 cup pure maple syrup
1 tsp vanilla
1 tsp almond extract
1 tsp cinnamon

 Optional Toppings:

Fruit - Berries are great
Chopped Nuts
Greek Yogurt
Dark Chocolate Chips

Directions:

Preheat oven to 350
Place bread in sprayed casserole dish. 
Combine all ingredients except toppings.
Pour over top and allow it to soak for 30 min.
Sprinkle with toppings.
Bake for 45 mins. 


Looking for a fun Fall or Halloween activity? 

Here are two seasonal Scavenger Hunts that are great for kids and families.


Friday, August 6, 2021

Sooo Many Green Beans...

So you grew green beans (well done) and now you have too many... What to do? Well of course you can can them but if you are looking to enjoy them fresh here is a great recipe to do just that.


Chicken and Green Bean Stir Fry

Ingredients

  • 1 Tbsp olive or coconut oil
  • 1 lb. skinless boneless chicken breast, cut into pieces (you decide size)
  • 1 tsp dried oregano
  • 1/2 tsp ground ginger or you can use fresh (I prefer fresh minced)
  • 2-3 fresh garlic cloves, minced
  • 1/2 tsp cayenne pepper
  • 16 oz fresh green beans, cut into halves
  • 2 Tbsp soy sauce 
  • salt and pepper, to taste
  • 2 Tbsp sesame seeds

Instructions

  1. In a small bowl sprinkle chicken with cayenne pepper, ginger, garlic, oregano, a pinch of sea salt and pepper. 
  2. Mix well (I use my hands)
  3. Heat oil in a large skillet over medium high heat. 
  4. Stir fry chicken for about 5-7 minutes, until browned and cooked through.
  5. Add in green beans, soy sauce and cook stirring frequently for another 3-5 minutes, or until softened just a bit.
  6. Sprinkle with sesame seeds and enjoy!
Variations:
  • Add toasted almonds and top before serving
  • Use coconut oil
  • Add fresh mushrooms with the green beans
  • Serve with pasta or rice
  • Try swapping the beans for broccoli or asparagus
  • Use 1 tsp of cornstarch to thicken sauce


Thursday, June 24, 2021

Salad On A Stick... Say What?!

The summer has finally arrived and you are once again willing to brave social contact via potluck or picnic. What do you bring? Salad-On-A-Stick! Say WHAT?  If you are like me and still a little leery about potlucks and well COVID, this is a great option to keep hands free from touching utensils. This also lends itself well to camping with a little planning. No one wants to do a bunch of dishes when camping. This takes salad to a finger friendly virtually dish less lunch option.  These are really fun for kids and adult alike. Make a bunch of them, then set them out on a large serving tray with a big bowl of ice underneath. You’ll receive lots of compliments.

You can use regular chicken eggs to make these, but quail eggs are definitely very cute!

Have you ever tried quail eggs? I have and I love them. Turns out they are very nutrient-rich for such small morsels! If you live near a local farm you may find them. Otherwise you can ask your grocer to carry them.


This recipe makes 6 Servings

Ingredients

  • 2 large chicken breasts (around 14oz in total)
  • 1 Tbsp olive oil
  • sea salt and ground pepper, to taste
  • 2 small garden cucumbers, sliced into 1/2-inch slices
  • 6-8 ounces cheddar cheese, cut into small cubes
  • 1-pint cherry or grape tomatoes
  • 1/2 head of iceberg lettuce, rinsed and roughly chopped
  • 12 boiled quail eggs, halved if desired
  • 8-inch bamboo sticks

Instructions:

  1. Rub the chicken with sea salt, pepper, and a bit of olive oil. Seat aside on the counter to allow it to reach room temp for about 20 minutes.
  2. Preheat an outside grill or a grill pan over medium-high heat.
  3. Once the chicken is no longer fridge-cold, place it on your preheated grill or grill pan. Grill for about 6 minutes per side, or until grill marks appear and it's cooked through. Set aside on a cutting board and allow it to cool for 5 minutes, then cut into 1/2-inch cubes.
  4. Meanwhile, prepare the remaining ingredients.
  5. To assemble your skewers, you'll need 8-inch bamboo sticks.
  6. Take one skewer and gently thread a slice of cucumber, followed by a cube of cheese, a cherry tomato, some lettuce, a cube of grilled chicken, and then an egg. Repeat with the remaining ingredients as shown.
  7. Arrange your Cobb skewers nicely onto a platter and very lightly drizzle with extra virgin olive oil. Sprinkle with sea salt and freshly ground black pepper if desired.
  8. Serve immediately.

If you are planning this for camping, it is helpful to pre-cook the eggs and pre-cut/cook the chicken. Cutting the veggies right before you serve so they are as fresh as possible. You can also add other veggies too. 

Ideas for other additions:
  • Smoked Sausage (cut up and pre-cooked)
  • Onions (cut into 1.5 - 2 inch square pieces
  • Olives
  • Pepperonis
  • Ham
  • Radish
  • Crotons


Wednesday, June 23, 2021

Canning Bean Soup - Dry Bean Method

I was going through my freezer and making a meal plan for the week and noticed I had two beautiful ham bones in freezer bags. They both had a good amount of meat on them from Sunday Hams. I am not one to waste food if I can avoid it. I thought PERFECT! I will make bean soup with these! I usually save those for either bean soup, potato soup or split pea soup.  

Making homemade bean soup is one of those comfort foods that goes great with corn bread or a hearty baked bread, especially on cold days. What is better still, having it ready to eat on a cold day OR being able to just throw it into a crock pot and let the family munch on it all day.


Ingredients:
  • 2 medium carrots, sliced
  • 2 celery ribs, chopped
  • 1 med/large onion chopped
  • 4 Cups chicken stock
  • 2 lb of dry beans (northern, navy, pinto - your preference) washed and rinsed 
  • 1 large meaty leftover ham bones
  • 1 Tbsp thyme
  • 2 garlic cloves minced
  • 1/4 tsp pepper
  • 1 bay leaf
  • Large stock pot
  • Water
  • 7-8 or so Quart canning jars with lids and rims (clean/sterile)
  • Pressure canner & canning tools


Place the ham bone with meat attached into the stock pot and fill the stock pot with stock, thyme, garlic, pepper, bay leaf and top off with water to about 2/3 full and set it over medium heat to boil. You are going to let this boil down until you have reduced the water to about 1/3 left. (This is going to take a while and your kitchen will be warm and muggy which is why I tend to do this during the cooler months.)

Chop up your veggies while this is cooking down and set aside.

Line up your clean canning jars 

Measure 1 Cup dry beans per Quart (or 1/2 cup per pint)


Once you have reduced your liquid to about 1/3 full, remove the meat and bones. With a sharp knife cut/cube the ham that you want to go back into the soup and set aside. I usually chop up about 2 cups or so, sometimes more. 


Stock has reduced down and the steam
smells amazing!


Then distribute your veggies evenly between the jars and add your meat. I like the look of the layers in my jars but theoretically you could just mix the meat and veggies and then divide the mix evenly between your jars. Whatever blows your hair back I say.


NOTE: There are times where I will have too much meat and I will throw that into 1 or 2 pint jars and pop those into the pressure canner at the same time as the soup because the processing time is the same as the soup. 

This can be very handy when cooking and a spot of ham would really enhance the recipe so I will just grab a jar of canned ham from my pantry and it does the trick. This makes great baked ham mac-n-cheese and ham-n-scalloped potatoes. 
See my post on Why I Can Meat for more info on this.

Remove the bay leaf from the broth. Ladle hot mixture into jars leaving 1 inch head-space. Wipe rim and add lids and bands. Tighten to finger tip tightness. 


Process jars 75 minutes for pints & 90 minutes for quarts. 
(You will need to adjust the pressure for your altitude. For my altitude I use 10 lbs of pressure)

Once done, let jars sit for 24 hrs. Lids should all be sealed. If not, I place mine in the refrigerator and consume within 2 wks. 

My soup tends to be thick and that is how I like it. When I am ready to serve it I can add 1/2 - 1 cups of water to thin it out to the consistency desired. This is delicious with a hearty baked bread. This has saved me more than once on busy nights.


If you try this please share in the comments below or show me pictures of your canning success!


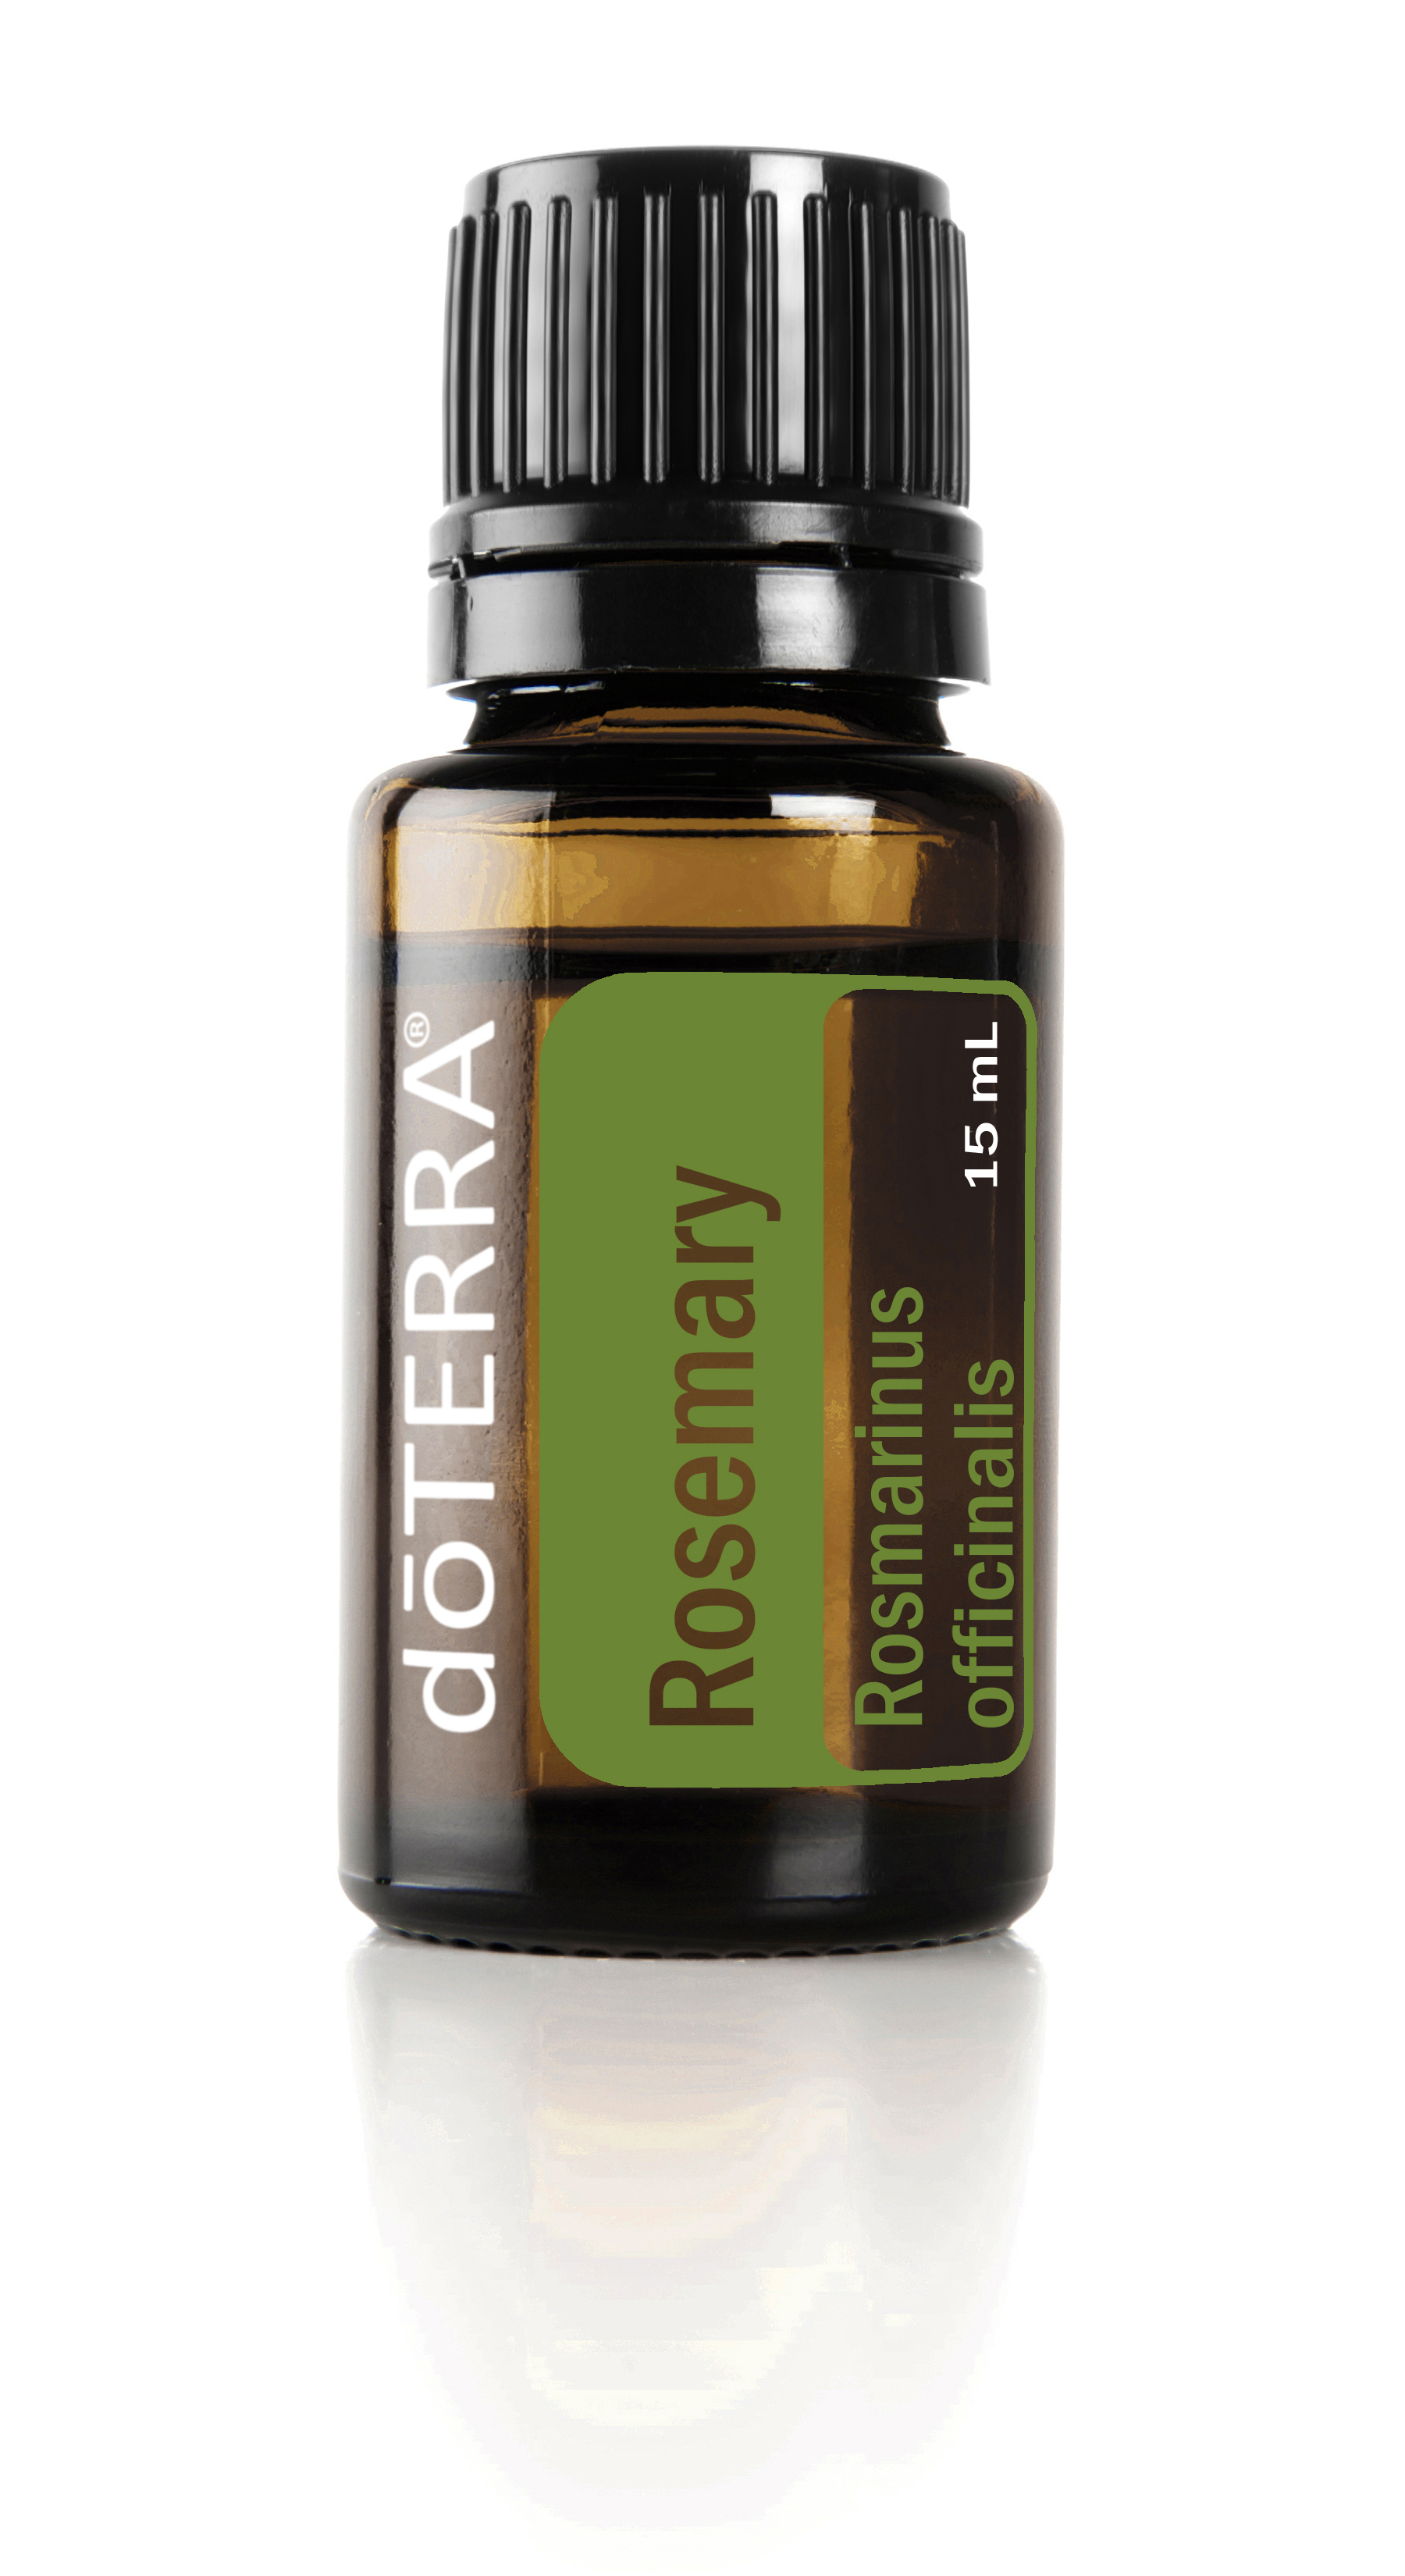
Rosemary Essential Oil

Rosemary Essential Oil  Rosmarinus officinalis

While it is frequently used for cooking, Rosemary has long been revered by many cultures for its internal benefits and energizing scent. 


Description

Rosemary is an aromatic, evergreen shrub whose leaves are frequently used to flavor foods such as stuffing's, pork, roast lamb, chicken, and turkey. Along with its culinary applications, Rosemary oil has many benefits. Rosemary essential oil supports healthy digestion and internal organ function when ingested.* Long revered by experts, Rosemary was considered sacred by the ancient Greek, Roman, Egyptian, and Hebrew cultures. Rosemary oil's herbaceous and energizing scent is frequently used in aromatherapy. Taken internally it helps to reduce nervous tension and occasional fatigue.*

Uses

  • Diffuse Rosemary oil to create an atmosphere conducive for studying.
  • Helps to support endocrine system. Direct body through hormone secretion, hypothalamus, thalamus, pineal, pituitary, parathyroid, thyroid, pancreas, and adrenals.*
  • Helps to support the reproductive system (Ovaries, uterus, breast, testes, prostate).*
  • Take internally to help reduce nervous tension and occasional fatigue.*
  • Add 1–2 drops of Rosemary essential oil to meats and favorite entrées for flavoring and to support healthy digestion.*

Directions for Use

Diffusion: Use three to four drops in the diffuser of your choice.
Internal use: Dilute one drop in 4 fl. oz. of liquid.
Topical use: Apply one to two drops to desired area. Dilute with a carrier oil to minimize any skin sensitivity. See additional cautions below.  I will add a couple of drops to my shampoo bottle as well as rosemary is good for the scalp.

This oil is Kosher certified.

Primary Benefits

  • Supports healthy digestion when consumed*
  • Internal use may help support healthy respiratory function*
  • When taken internally, may help to reduce nervous tension and occasional fatigue*

Aromatic Description

Camphoraceous, Herbaceous

Collection Method

Steam Distilation

Plant Part

Flower, Leaf

Main Constituents

1, 8-Cineole, α-pinene, camphor


If this is an oil that sounds like something you would like to try, feel free to message me or you can click HERE to purchase Rosemary Essential Oil.


If you would like to learn more about essential oils, please fill out either of these surveys and I will response accordingly.


Cautions
Possible skin sensitivity. Keep out of reach of children. If you are pregnant, nursing, or under a doctor’s care, consult your physician. Avoid contact with eyes, inner ears, and sensitive areas.

Disclaimer:
I am not a doctor, so please always check with your doctor for health concerns or before starting anything new (like using an Essential Oil Internally). I have done my homework for myself. I know the medicinal value of doTERRA’s oils and that I can trust them. Please do not take anything you read here as medical advice. I am simply sharing my experiences and what I have learned.

These statements have not been evaluated by the Food and Drug Administration. This product is not intended to diagnose, treat, cure, or prevent any disease.


Send Me A Message

Name

Email *

Message *